
Introduction
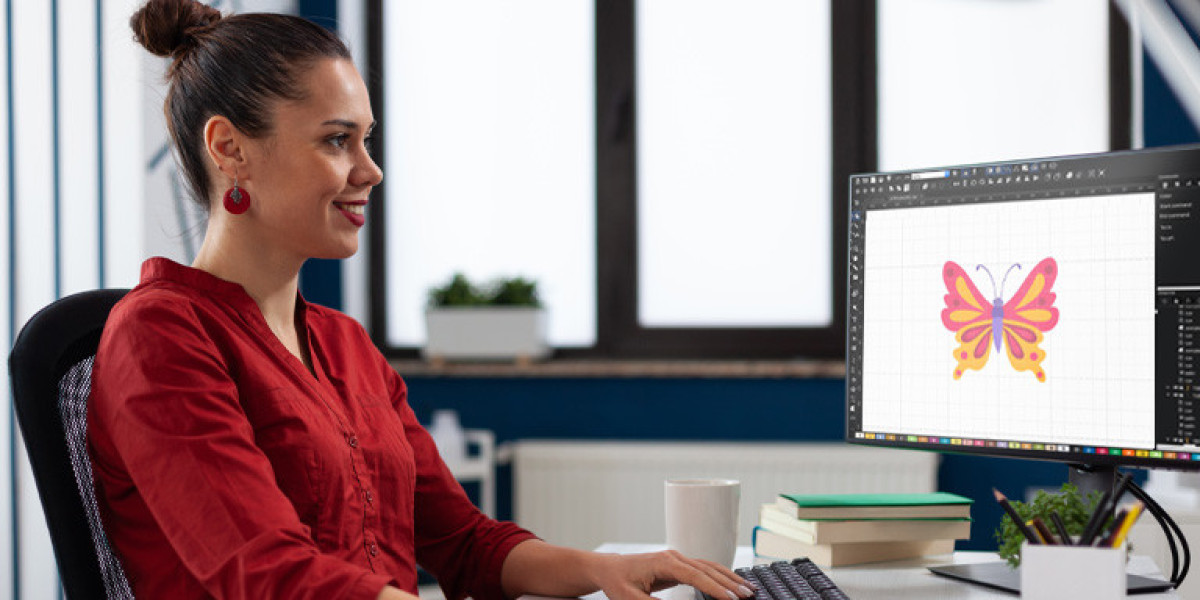
You have a crisp, beautiful design on your computer screen, and you are ready to see it stitched onto a jacket. You save the image to a USB drive, plug it into your embroidery machine, and hit start. Nothing happens. The machine just stares back at you, refusing to recognize the file. This is the moment when many people realize that embroidery machines and computers speak two completely different languages. The process of Digital Image to JAN Stitch File conversion is the essential bridge that translates your artwork into instructions your Janome machine can understand . Without this step, your design will never become a physical reality.
The Problem with Using Image Files
It is a very common misconception that you can just load a standard image into your machine and press start. Machines cannot read pixels or understand colors in the way your computer screen does. A JPEG or PNG file is made up of pixels, which are perfect for viewing but useless for embroidery . An embroidery machine needs stitch data to function. It needs to know the exact location of every stitch, what type of stitch to use, which direction it should travel, and when to change thread colors . Without this information, the machine simply doesn't know where to place the needle. A digital image is just a picture; a JAN file is a roadmap for your machine.
What is a JAN File, Anyway?
So, what exactly is this magical JAN file that your machine is looking for? In the context of Janome machines, a JAN file is the "Master Data" file created in the Janome Digitizer software . Think of it as the working blueprint for your design .
The JAN format is incredibly useful because it’s not just a final stitch file. It stores the object properties of your design: the individual shapes, the thread colors, the fill patterns, density settings, and dimensions . Because it holds all this editable information, there is a "slot" for each object in your design . This is why you should save an incomplete embroidery as a JAN file; it allows you to easily come back later and make modifications . It is your flexible, editable master copy.
Understanding the Janome File Family
To understand the JAN file, you need to understand where it fits in the Janome ecosystem .
The JAN file is your Master Data. It is created in the digitizing software up to version 4.5. This is the file you use to edit your design. The EMB format serves the same purpose in the newer Digitizer MBX V5 and onward .
The JEF file is your Stitch Data. This is the default format that all current Janome machines read . It contains the machine-readable coordinates and instructions for every single stitch. When you are ready to sew, you will export your design as a JEF file. The JAN file remains your editable master copy for any future tweaks .
There is also the JPX format, which contains exclusive information for newer machines, including special functions like Cutwork and AcuFil, and even allows the machine to display a background image on its screen for precise positioning .
How to Convert Your Image to a JAN File
Converting your image is not a matter of simply changing the file extension. It requires a process called digitizing, which is done through specialized software . Janome offers its own powerful software for this purpose.
Choose Your Software
The primary software for creating JAN files is the Janome Digitizer. The specific version determines the master file format. Digitizer MBX V4.5 and earlier create JAN files . The newer Artistic Digitizer software (and Digitizer MBX V5) uses the EMB format for its master file, but serves the same purpose . This software is feature-rich and allows you to convert images and text into embroidery-ready files .
Import and Digitize
Open your software and import your digital image, like a JPEG or PNG . For simple logos, you can use the Auto-Digitizing feature, which quickly converts the image into a stitch file automatically . For more complex artwork, you can use Manual Digitizing Tools to trace the artwork and define stitch types, directions, and densities for a truly professional finish . This gives you complete control over the quality of the final embroidery.
The Power of the Master File
Once your design is digitized, you save your work. If you are using the older Digitizer version, save it as a JAN file. If you are using the newer Artistic Digitizer, save it as an EMB file. This master file allows you to make changes later, adjust densities, and tweak colors .
Exporting for Your Machine
When you are ready to stitch, you don't use the JAN or EMB file. You need to export the design from your software as a JEF file. This is the "Stitch Data" file your machine is designed to read . You can then transfer this JEF file to your machine via USB and start embroidering.
Conclusion
Turning a digital image into a professional stitch-out is a two-part process: creating a master file to perfect your design, then exporting a stitch file for your machine. The JAN file is the cornerstone of the first part. It is the editable blueprint that holds your design together. By understanding the difference between an image, a JAN file, and a JEF file, you stop fighting with your machine and start taking control of your embroidery projects. Invest the time in learning your digitizing software and always save your work as a JAN file. This simple practice allows you to keep improving your designs, ensuring every project is a success.